Add lightgallery extension
Add OMV guideline (WIP)
Remove 'edition in progress' were page done
3.4 KiB
!!! info Wiki edition in progress
This is a basic guide to help you setting up Helios4 NAS with OpenMediaVault (OMV). OMV offers a large collection of features that we don't cover here. We invite you to look online for the existing OMV guides or go on the OMV forum.
Connect to OpenMediaVault (OMV) Control Panel
Open your web browser and go to the one of the following addresses :
- http://helios4.local
- http://xxx.xxx.xxx.xxx (How to check Helios4 IP address)
Default credential :
- Username: admin
- Password: openmediavault
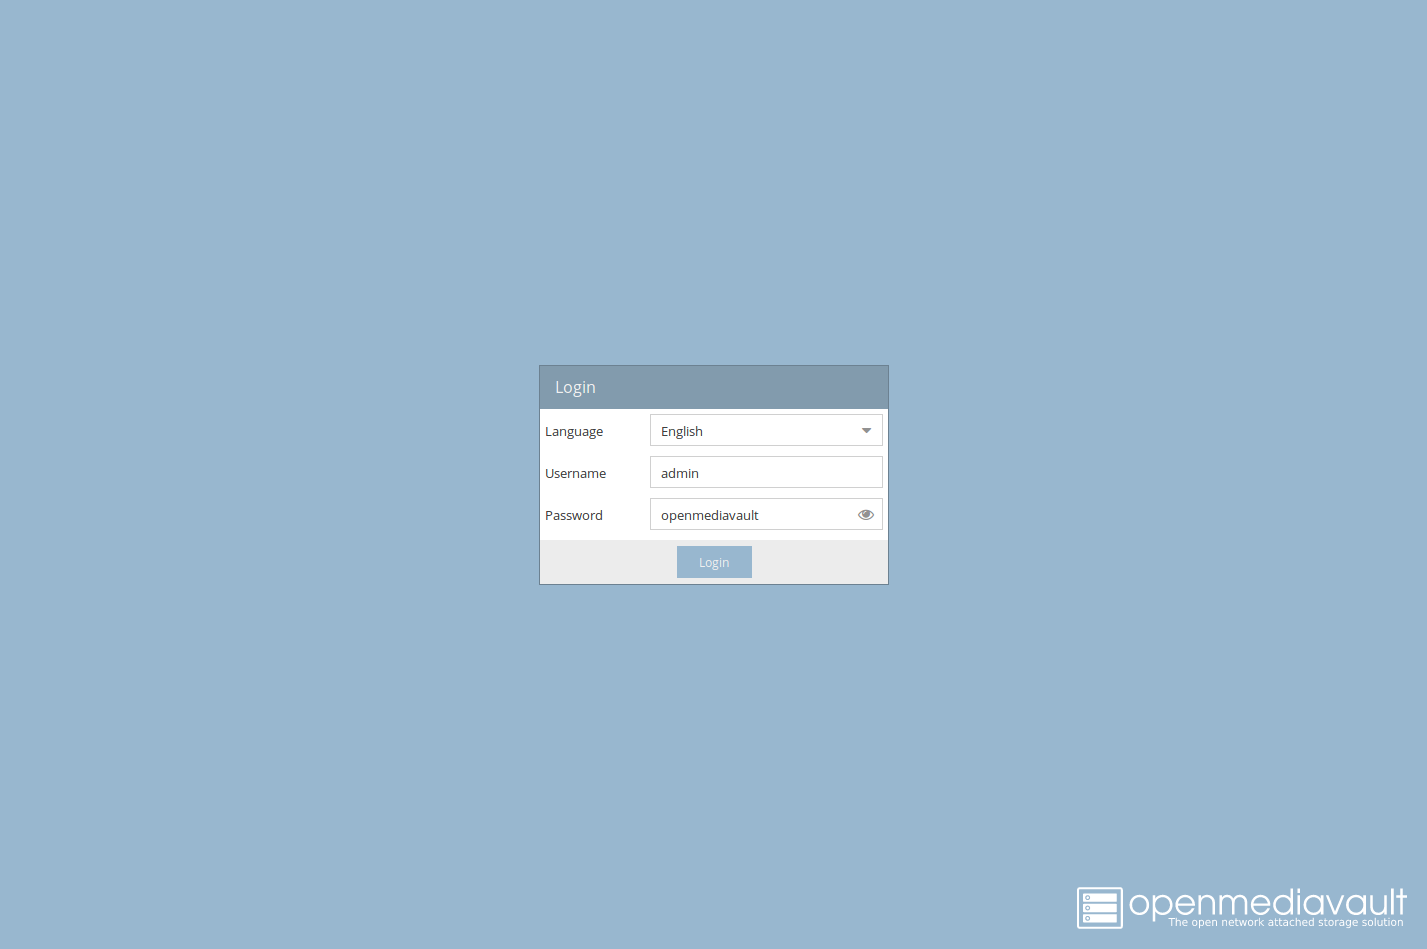 Login Screen
 Dashboard View
Wipe Disk (Optional)
If you are using HDD which aren't blank or brand new you might need to wipe them first before being able to setup an RAID array.
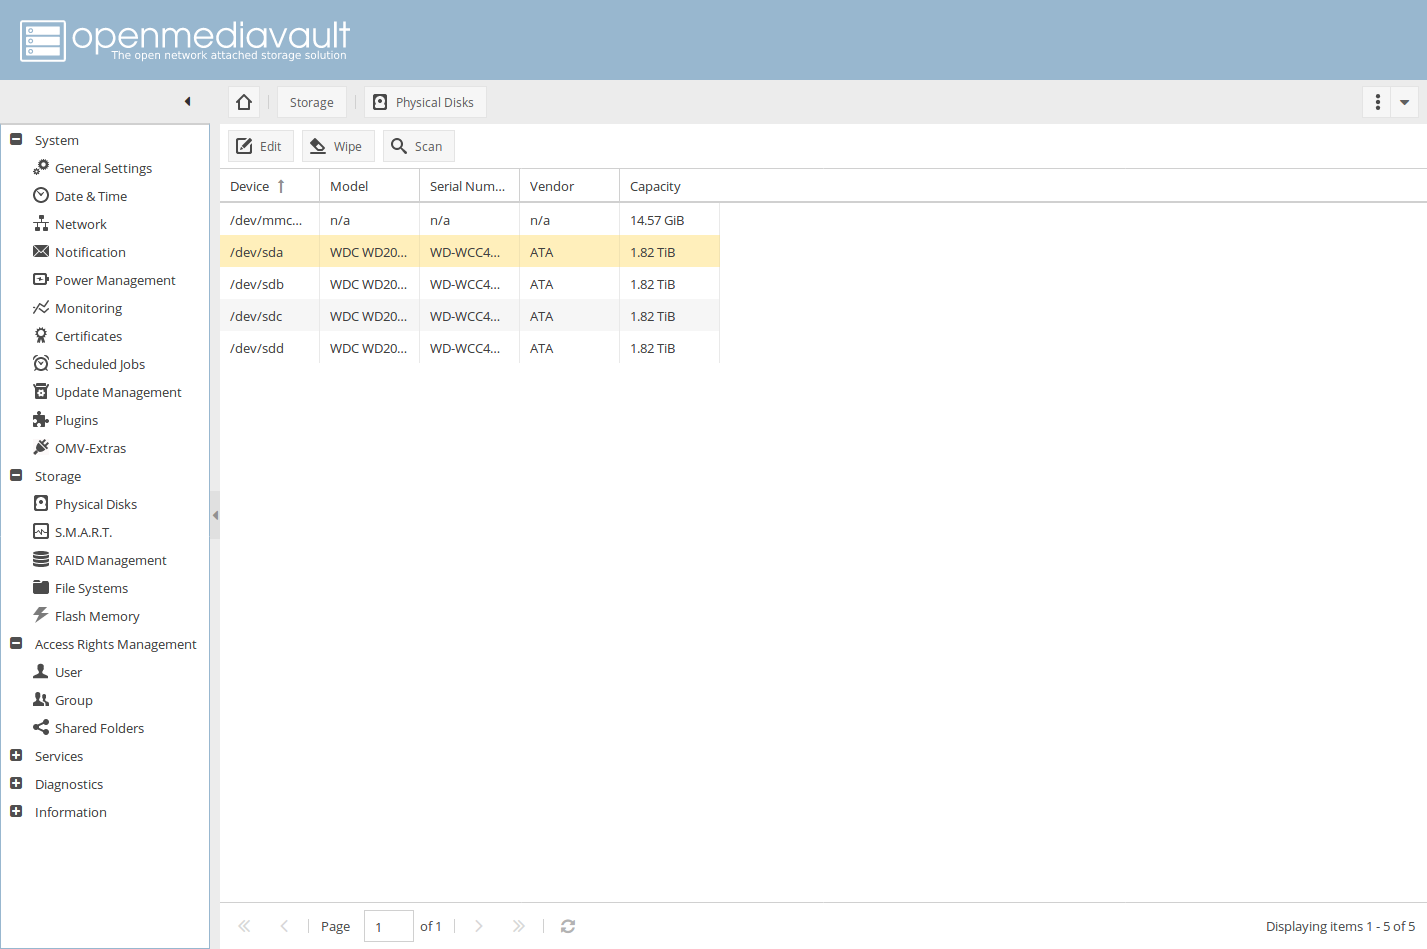
Go to Physical Disks section.
Select an HDD and click Wipe.
!!! note HDD should be device starting with /dev/sdX
Choose Quick wipe method.
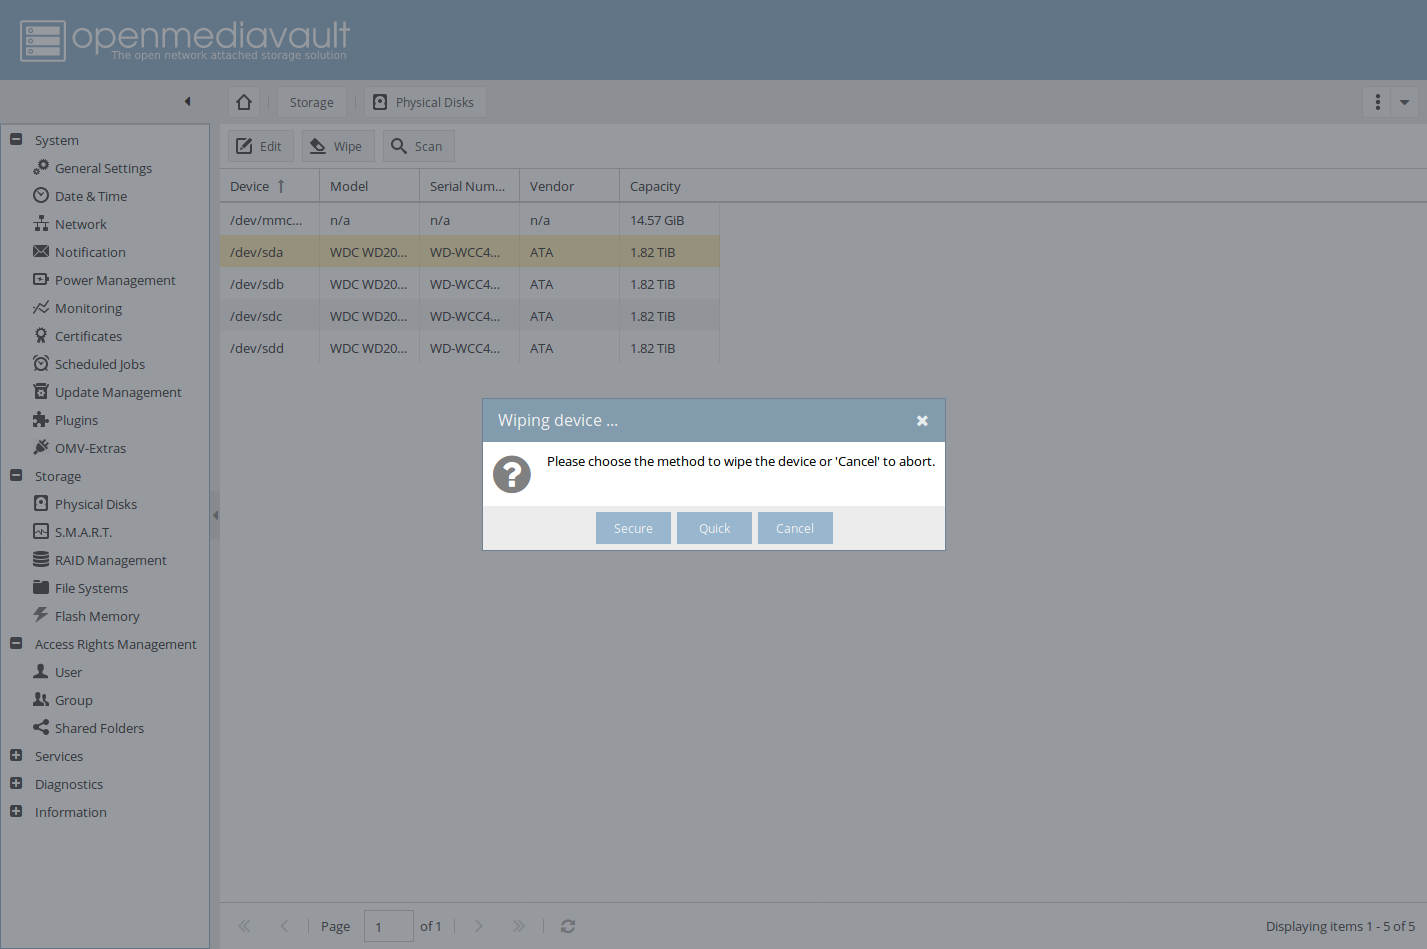
Repeat this step for each HDD you want to use for your RAID array.
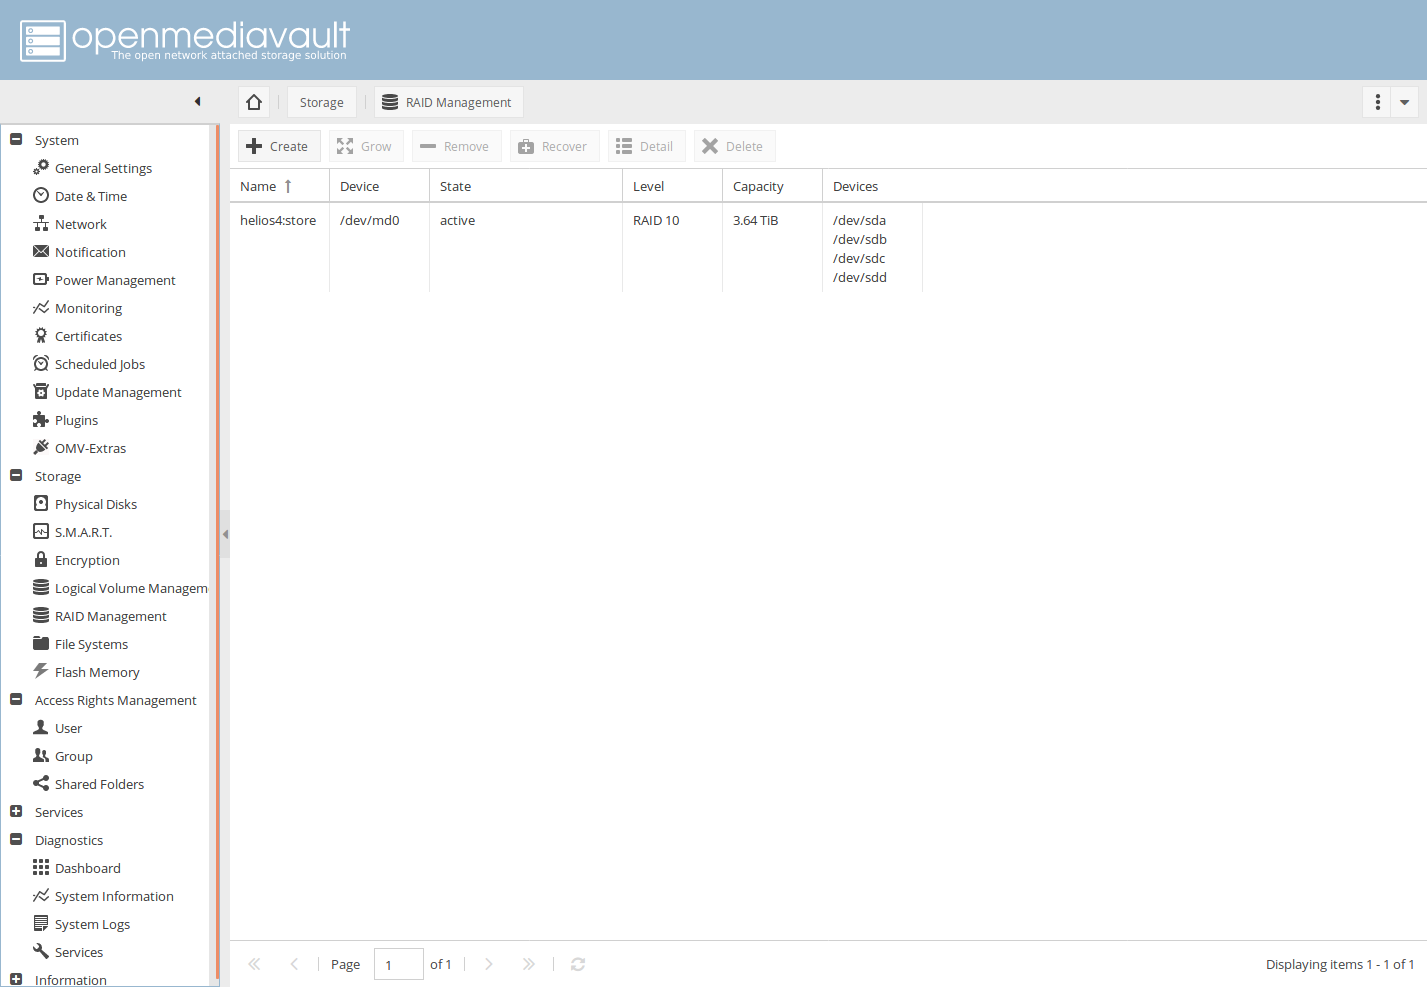
Create a RAID array
In this guide we chose to create a RAID10 for the following reasons :
- A
- B
- C
You can choose to go for RAID5 or RAID6 but take in consideration that the syncing will take up to 3 times the syncing time of RAID10.
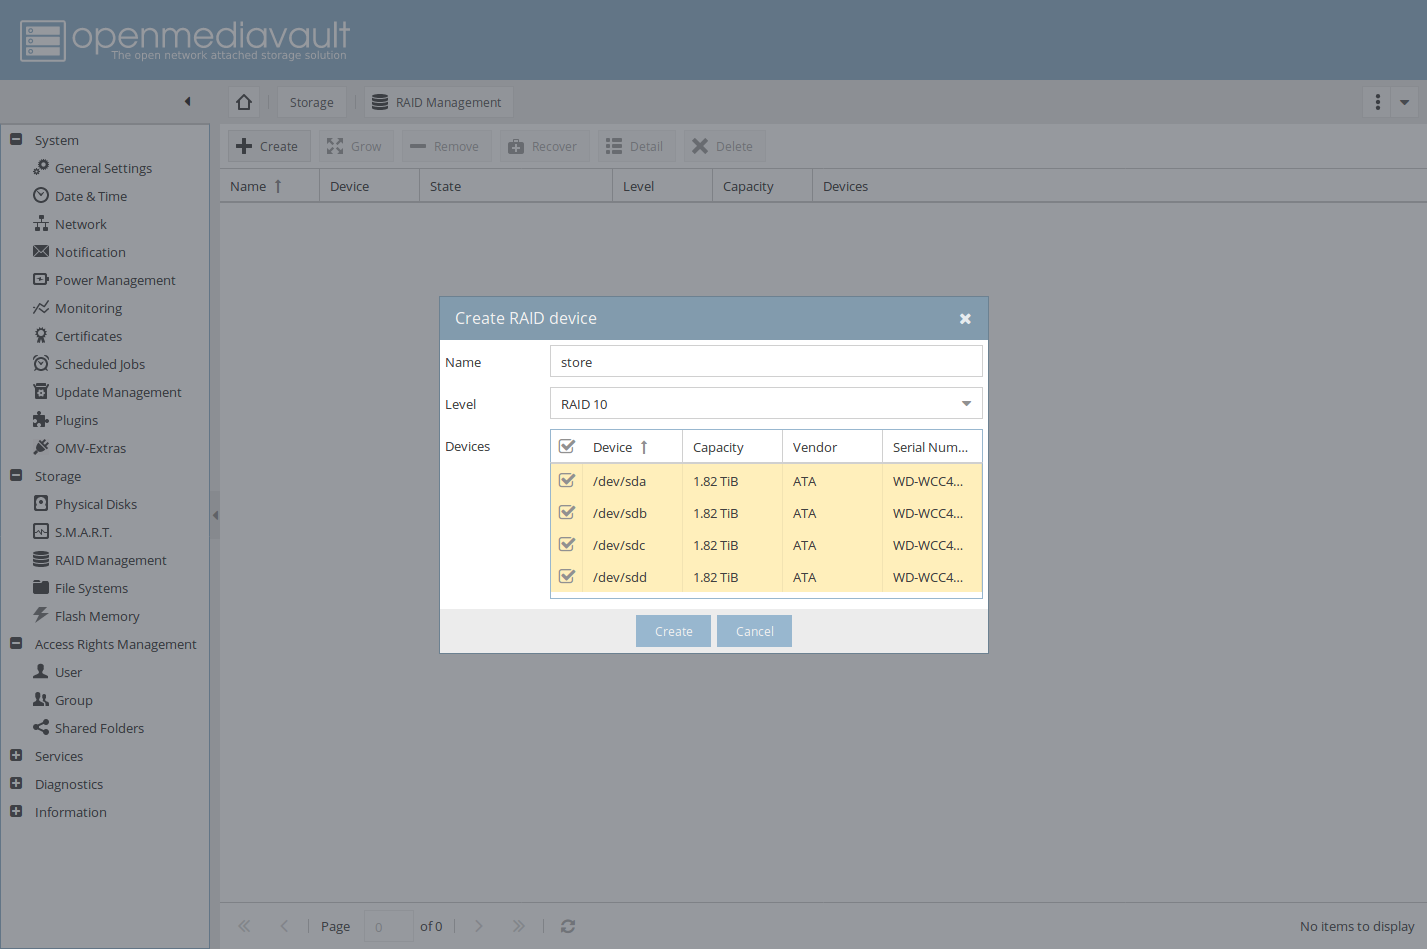
Go to RAID Management section.
Click Create.
Select RAID level and the devices you want to be used for the RAID array.
Give it a name and press Create.
You can see the ongoing re-syncing process and get a finish estimated time.
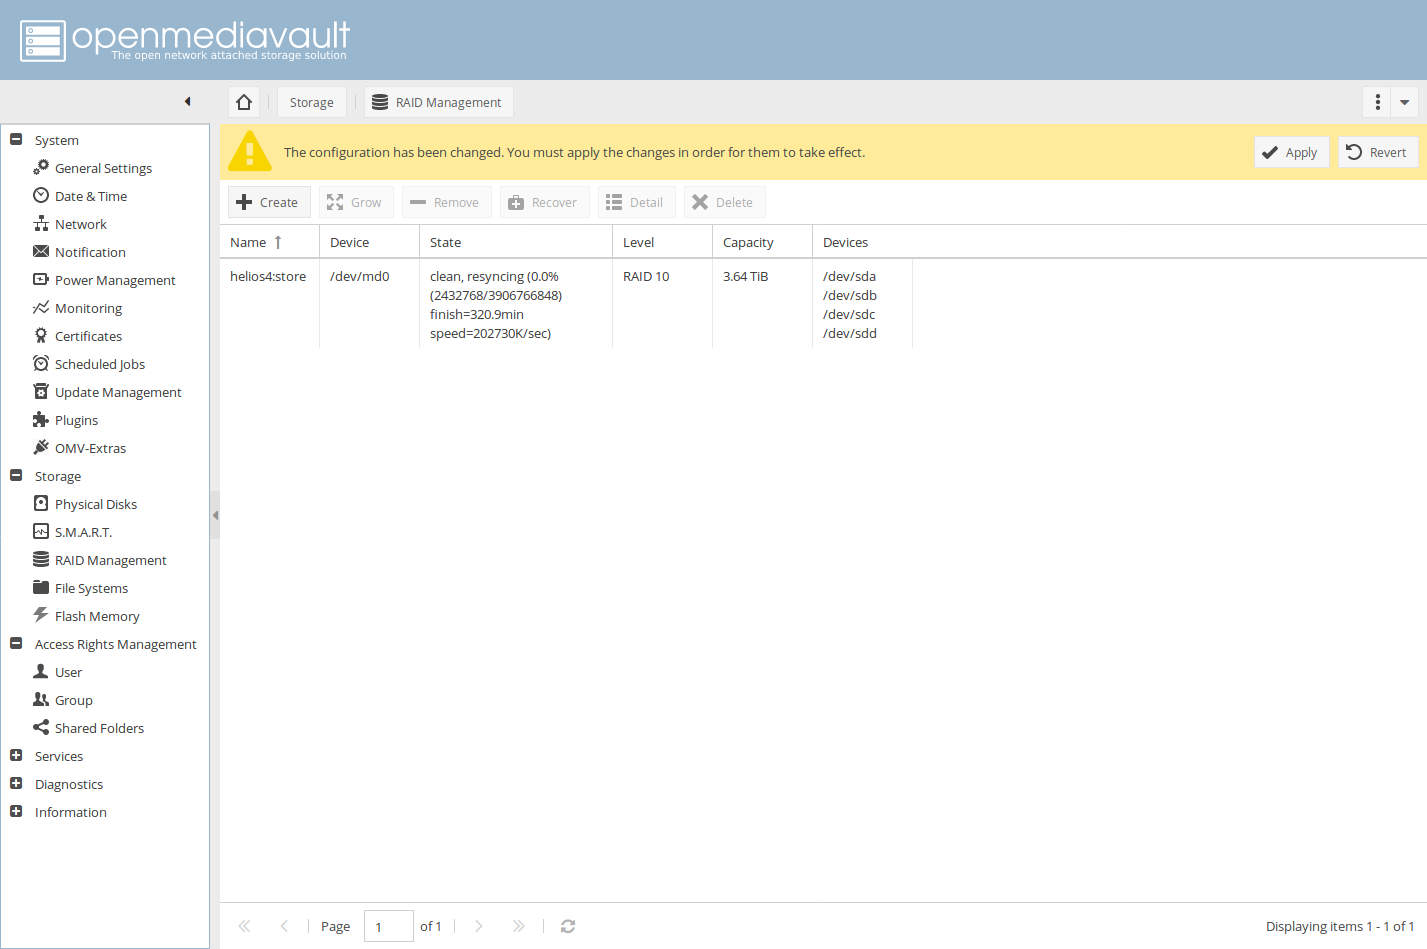
!!! important While you could carry on with some part of OMV configuration during the RAID re-syncing process, we strongly advice to let this process complete first. You should see the following in the RAID state once re-syncing is complete : active.
!!! info
Whenever you change some settings in OMV, the following banner will appear. You can immediately apply the configuration by clicking Apply or you can carry on with your configuration and apply the changes at a later stage.

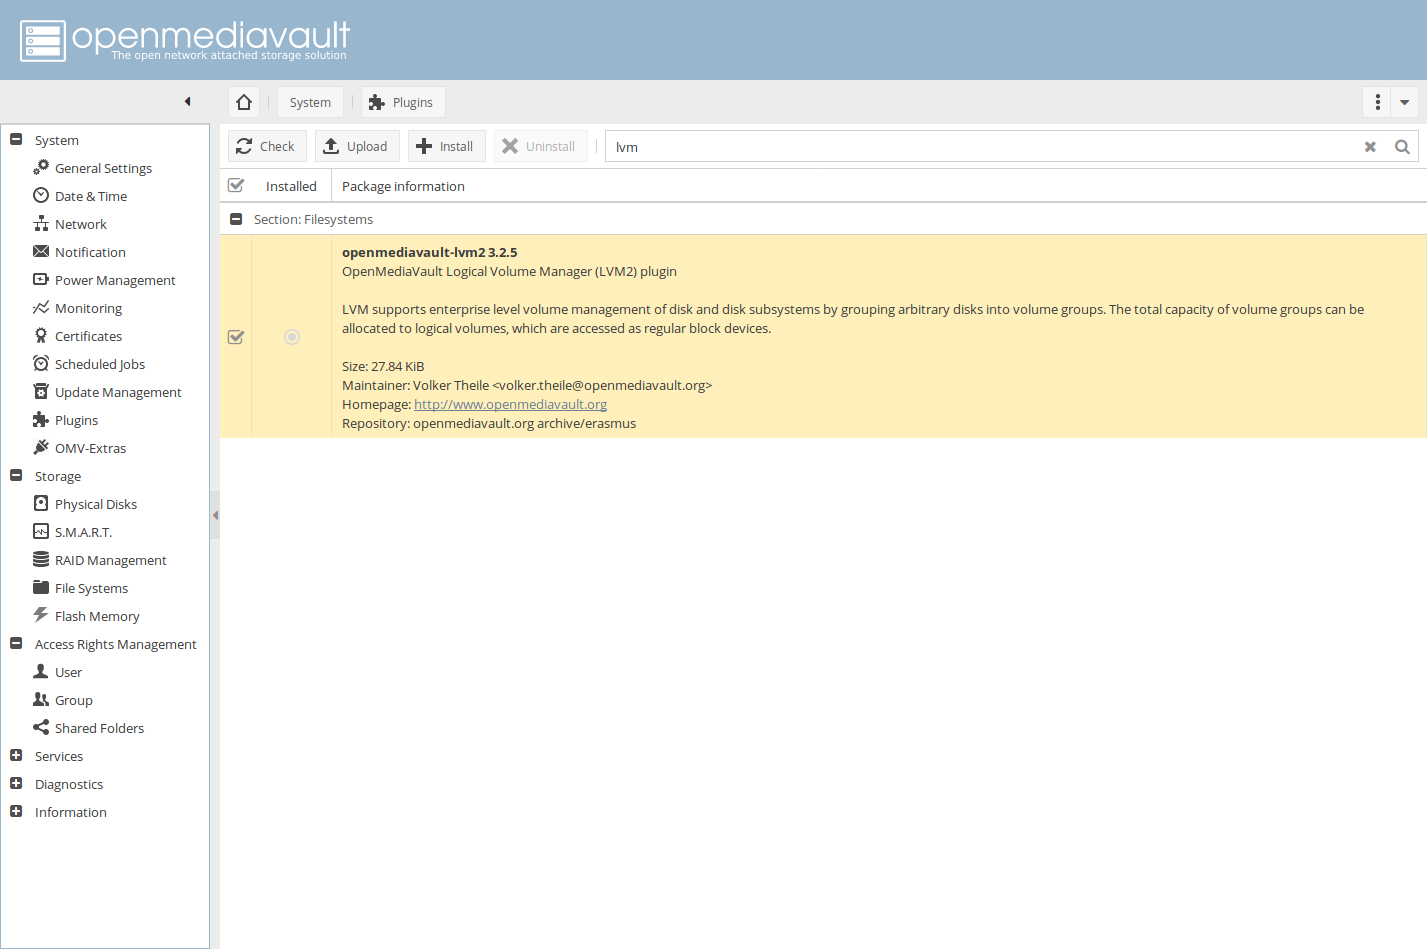
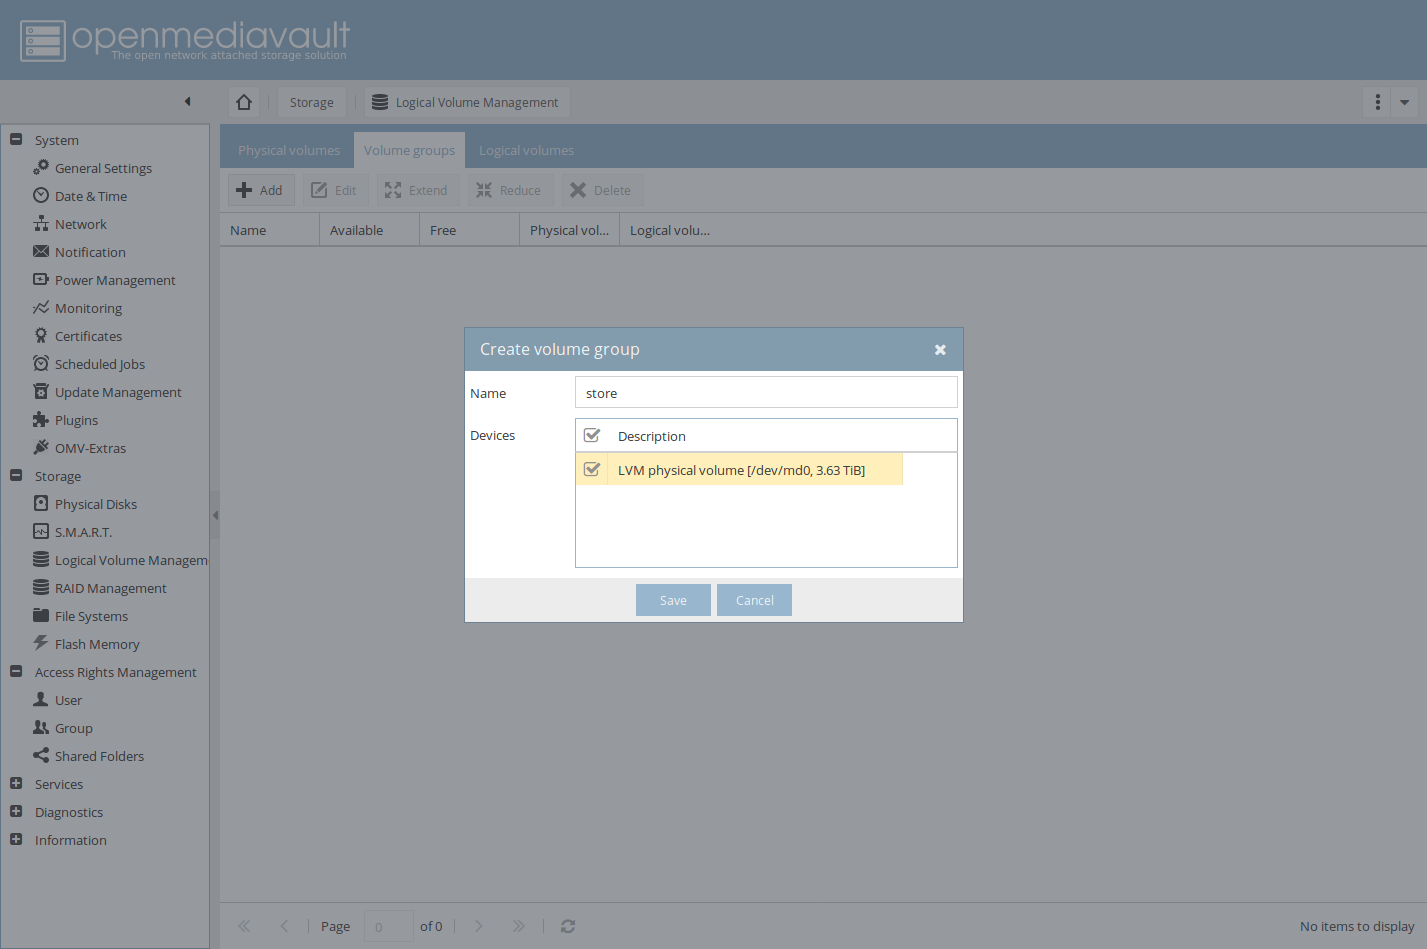
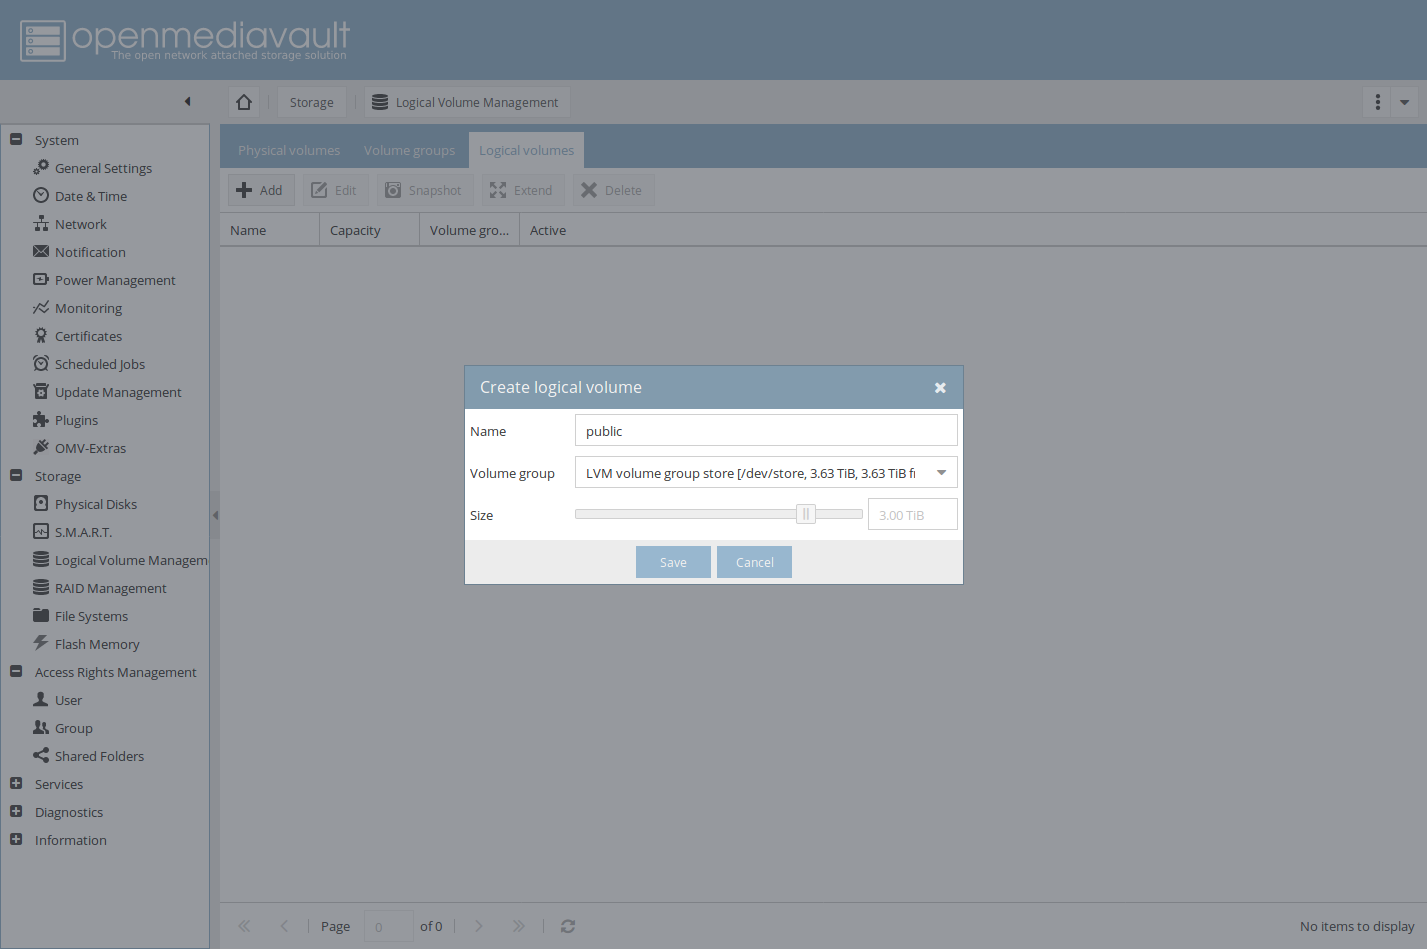
Create a LVM Logical Volume
First you need to install OMV LVM Plugin.


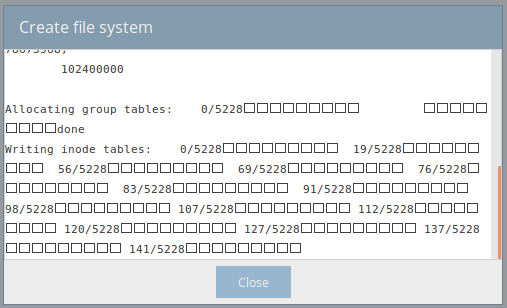
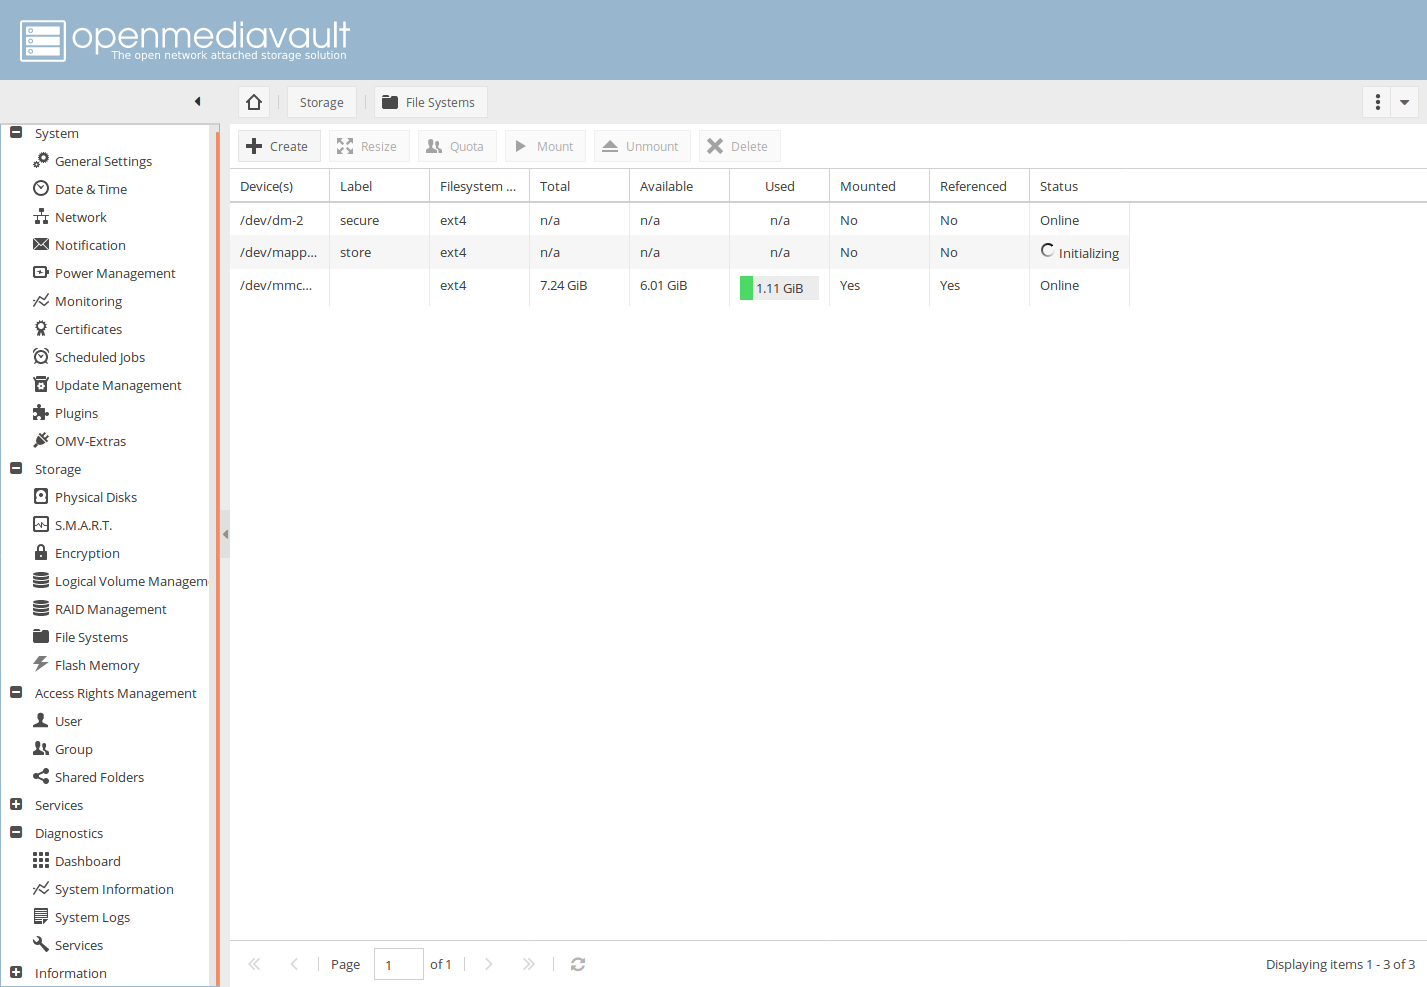
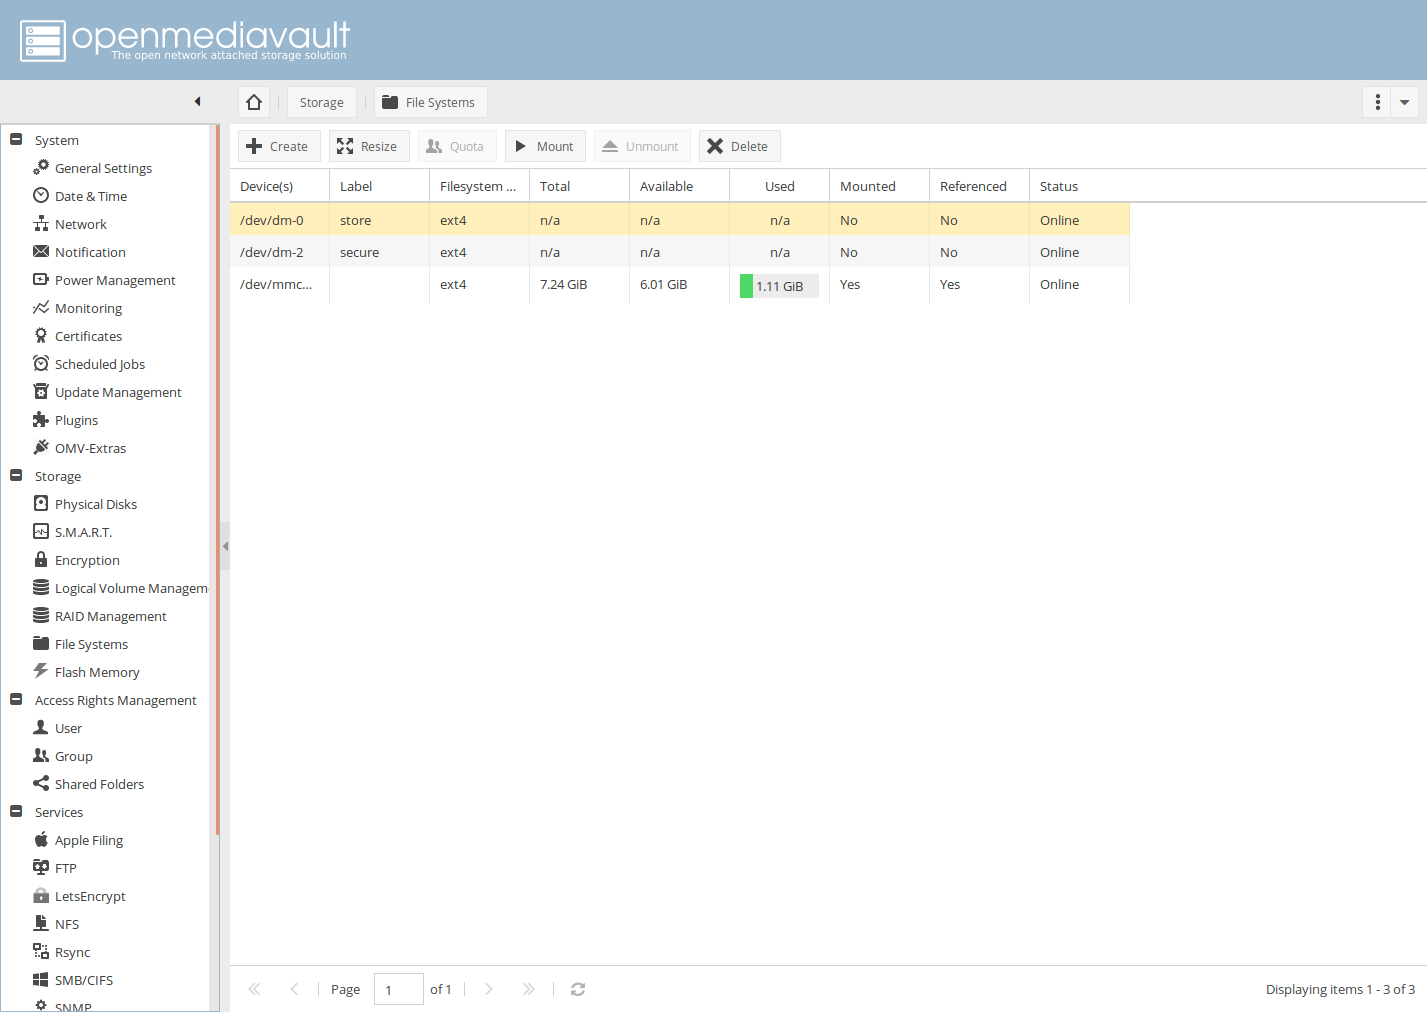
Format and Mount Volume

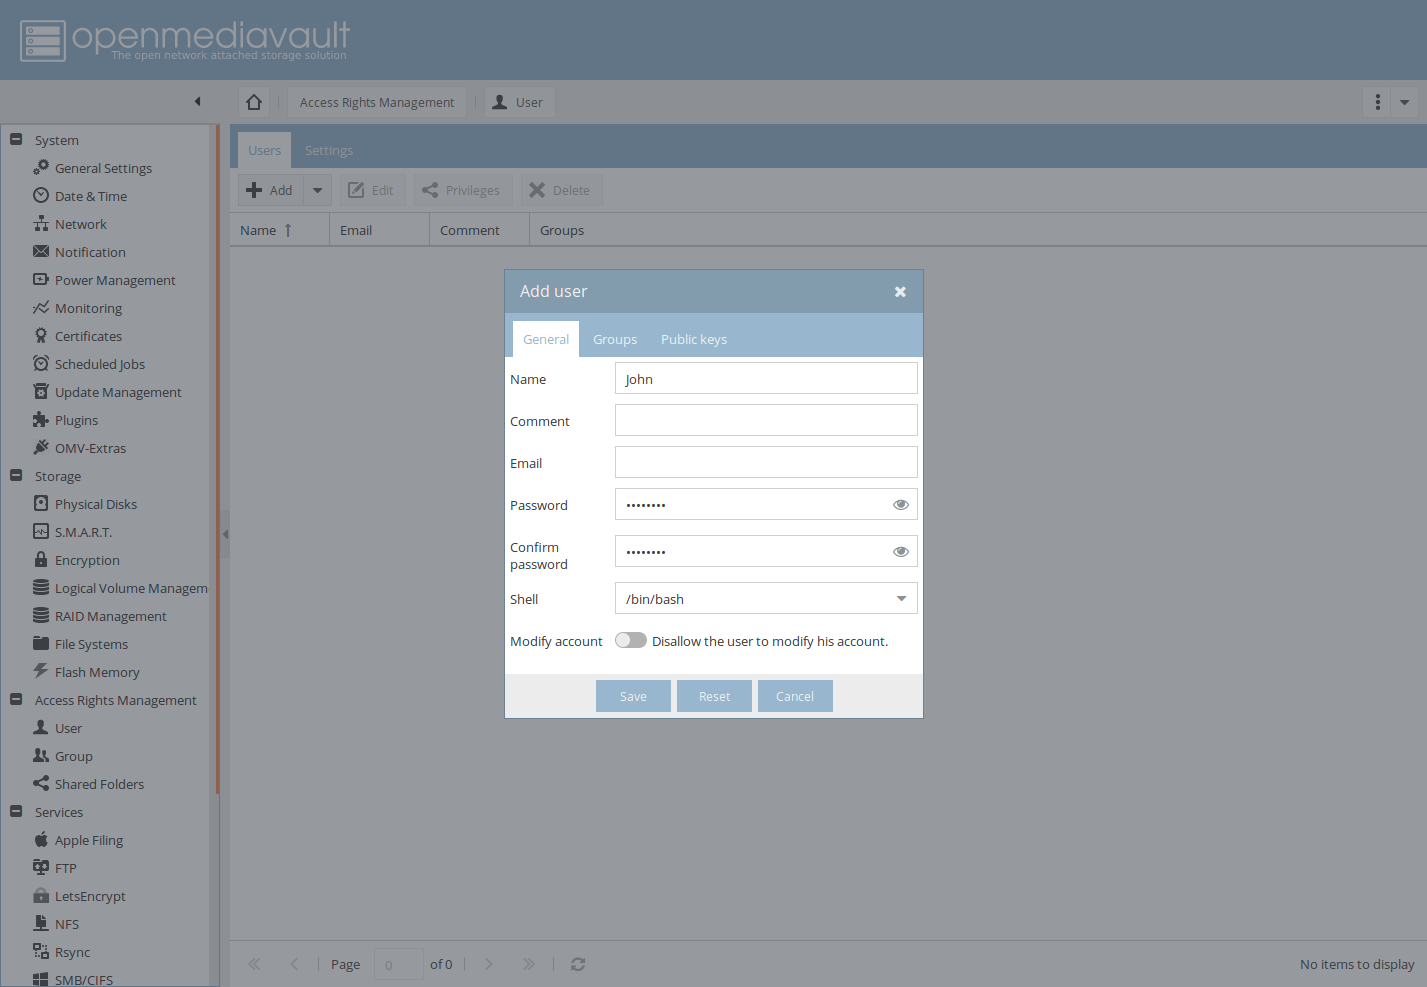
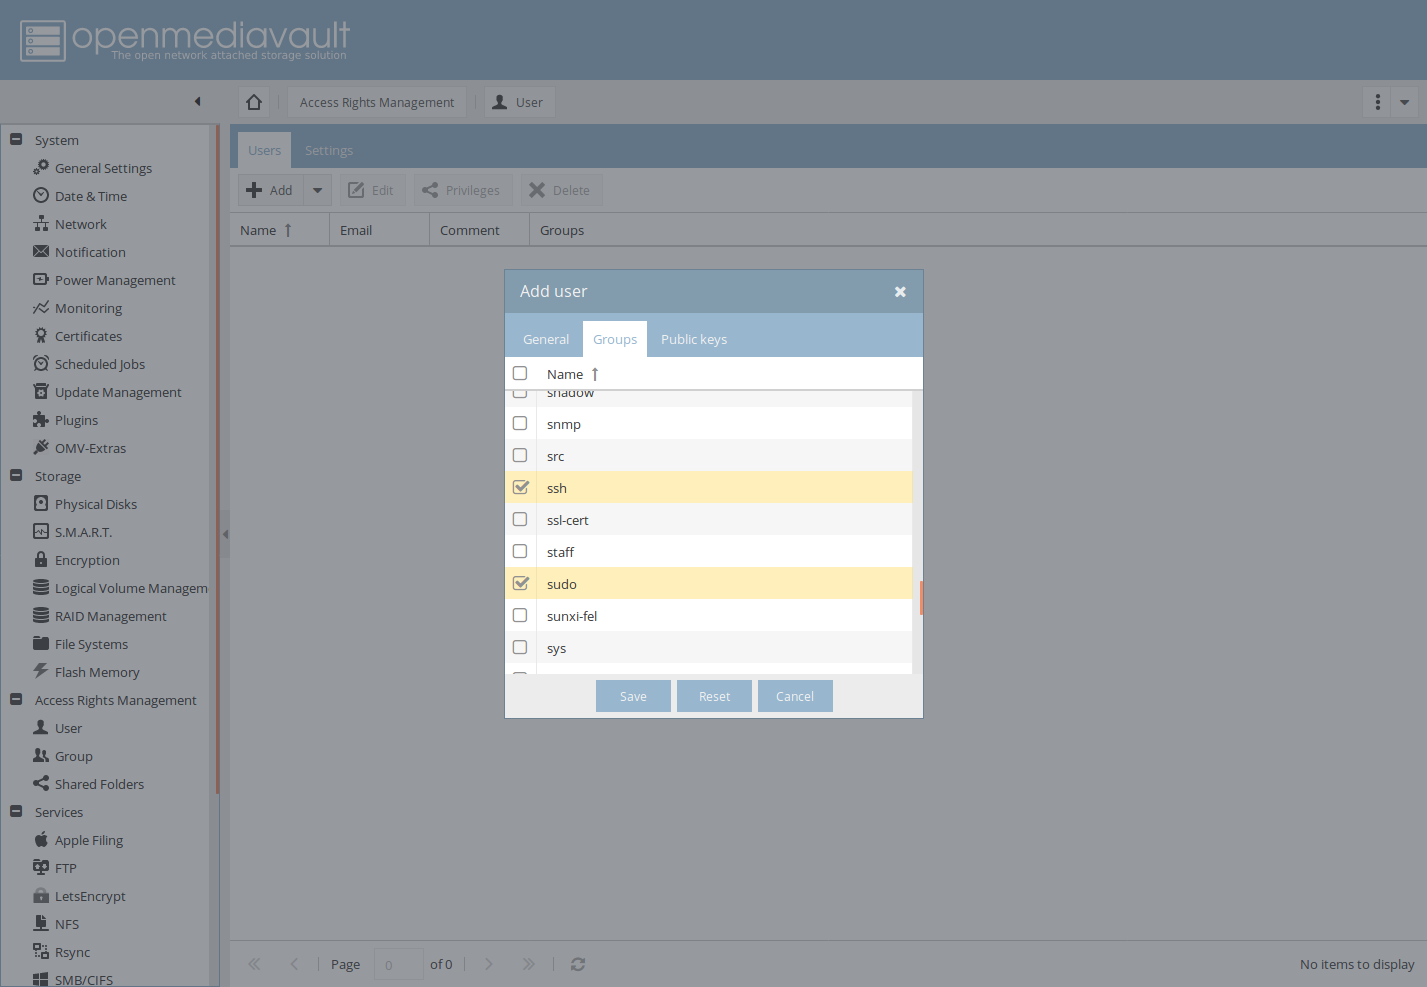
Create User
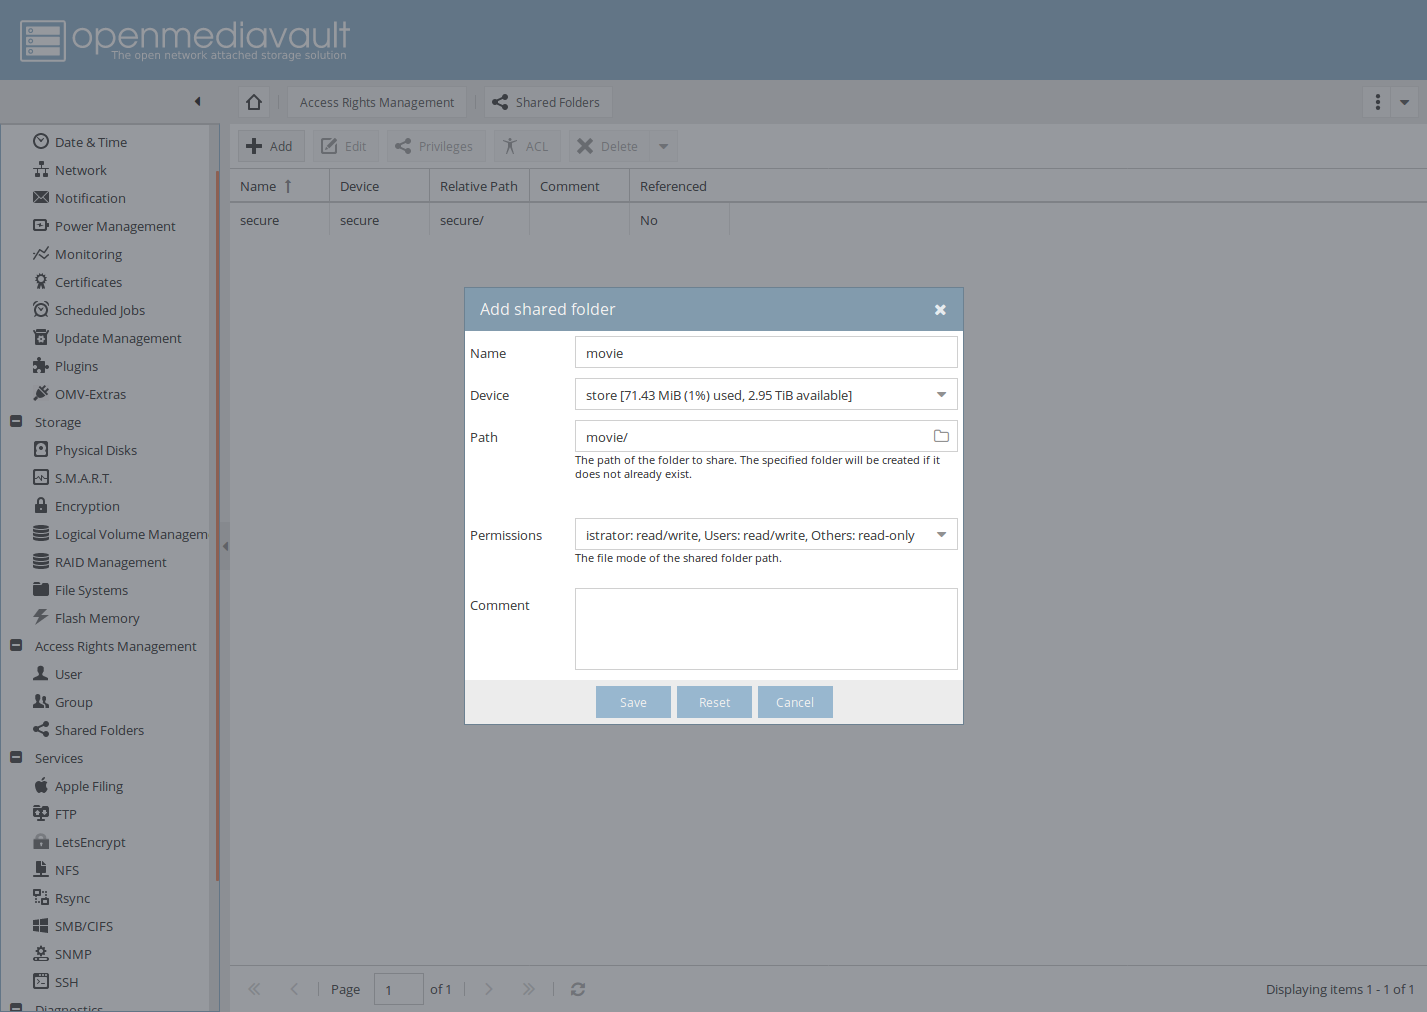
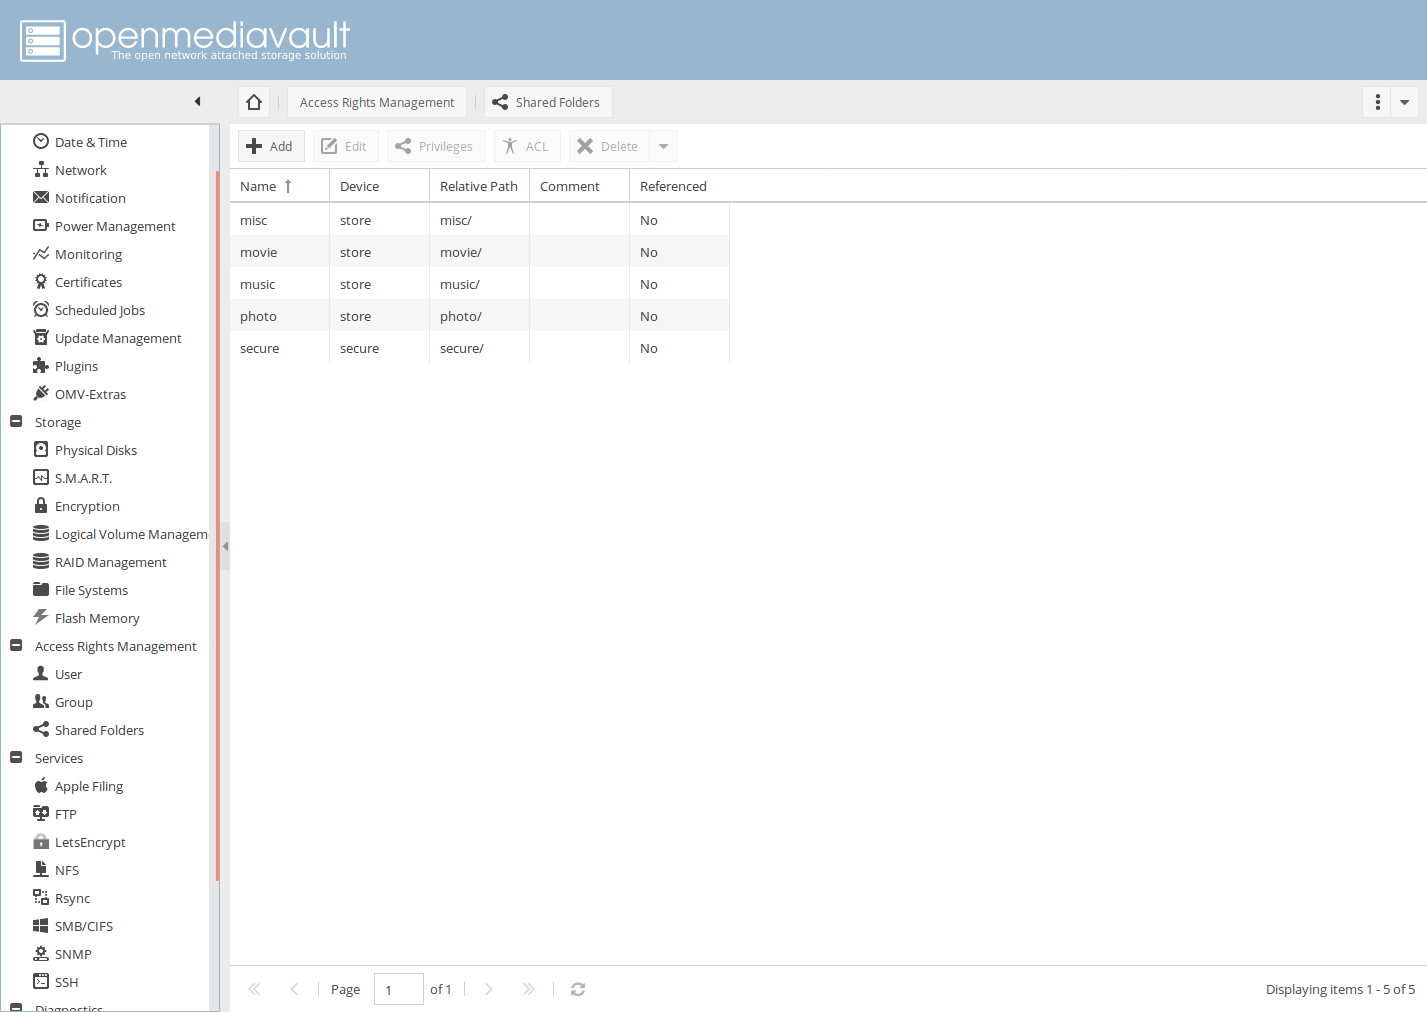
Create Shared Folder
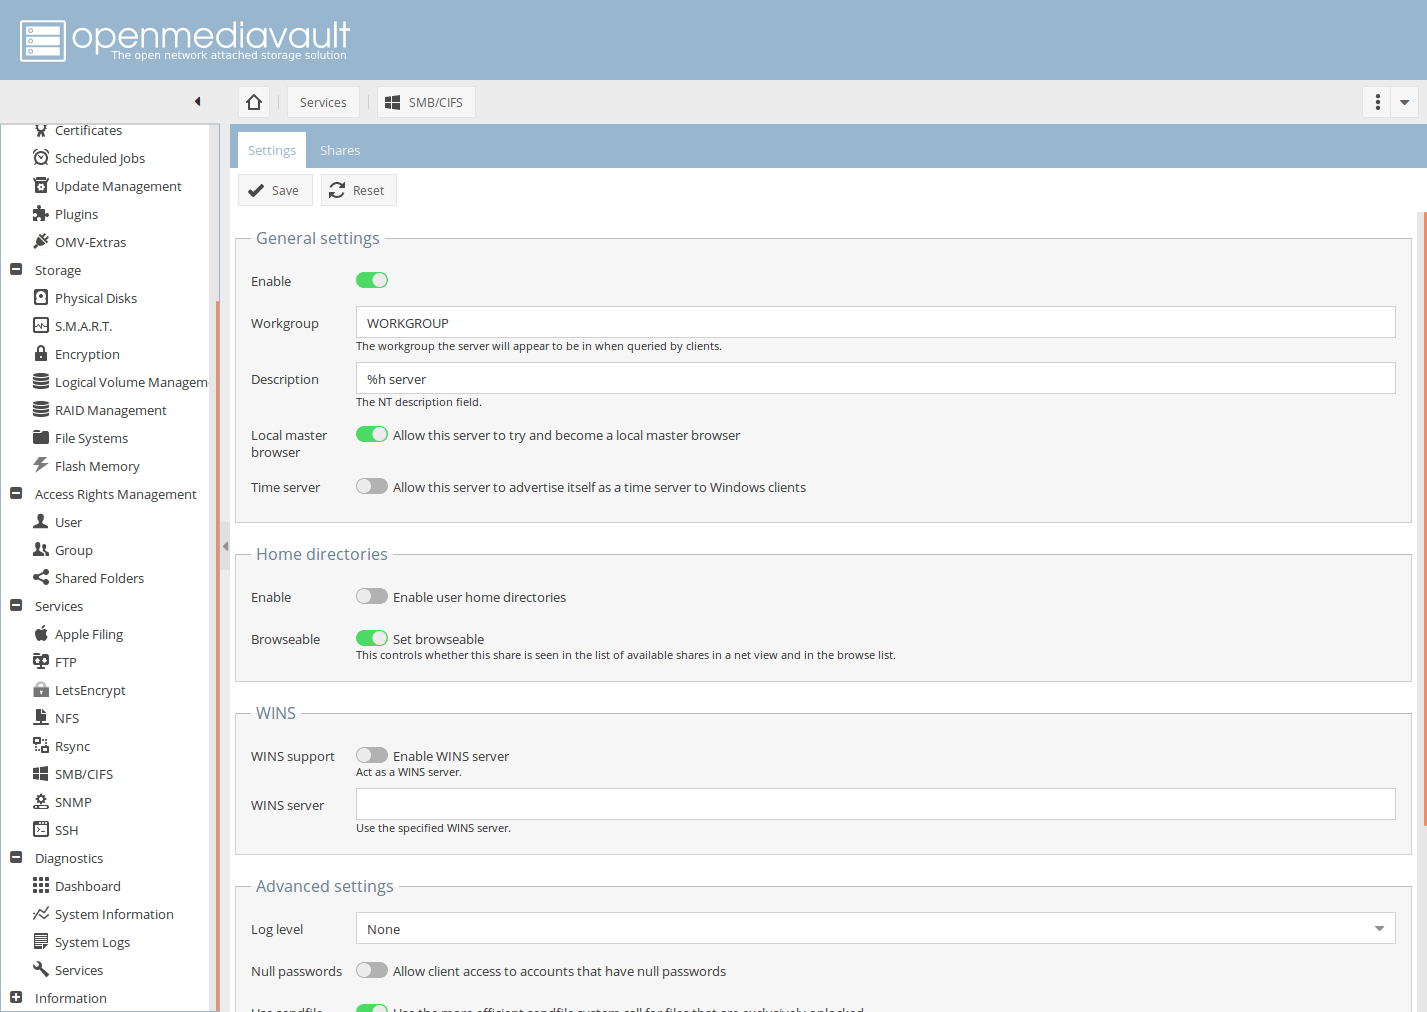
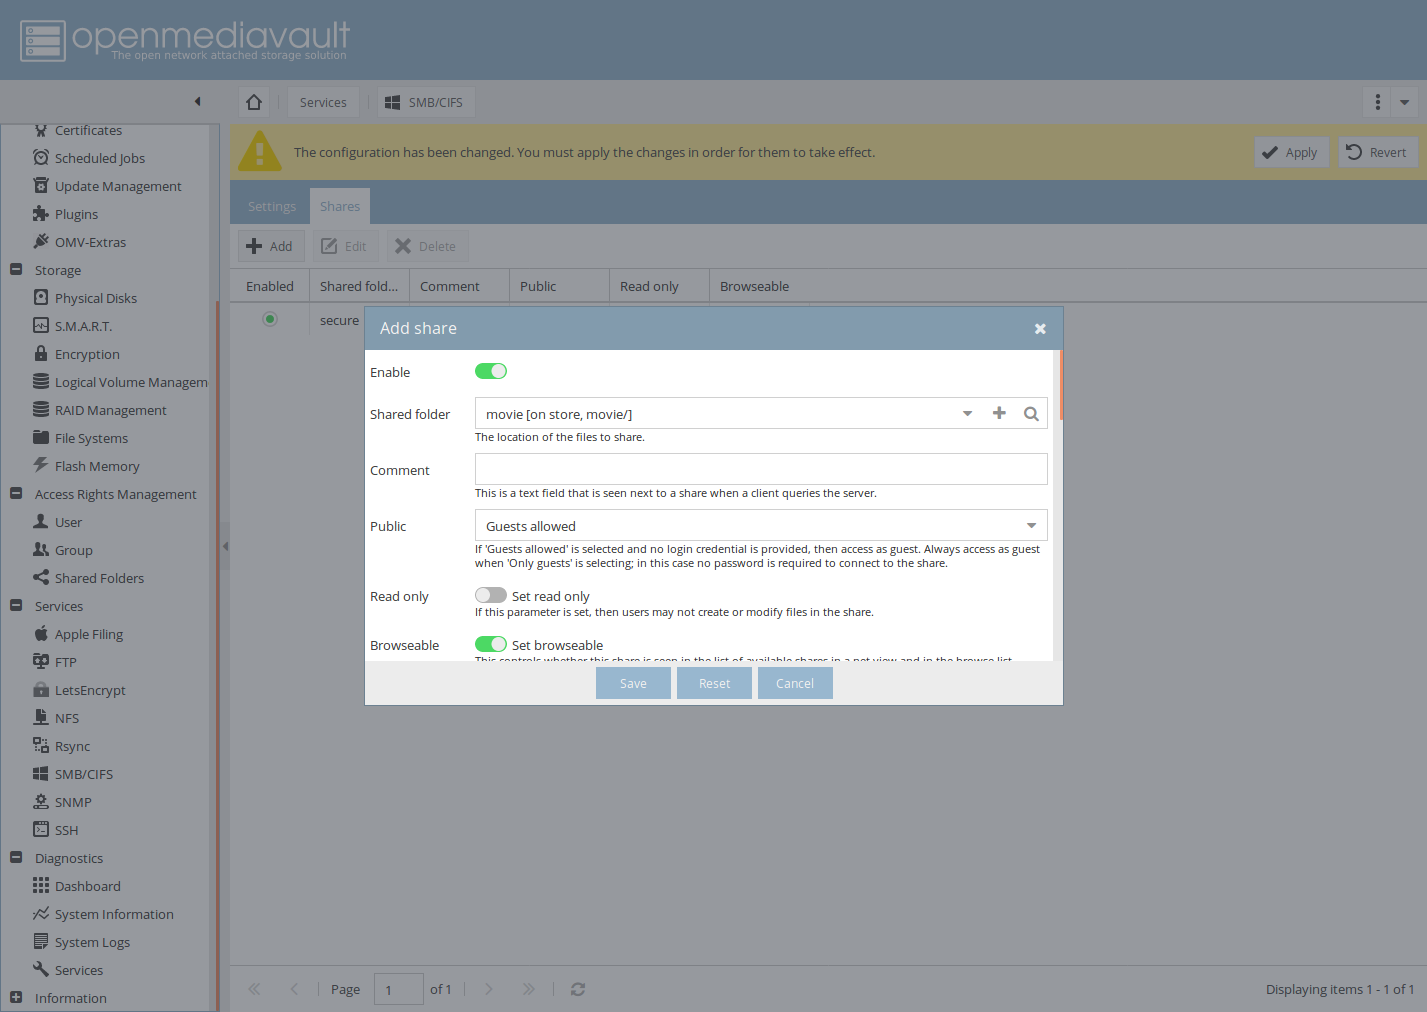
Configure Windows Share (SMB/CIFS)